If you upload various files to your WordPress site regularly, you may have faced the error message, “the uploaded file exceeds the upload_max_filesize directive in php.ini”. The message appears when you try to upload a large file, like high-resolution images or videos, themes, or any other type of file that may be too large. In this article, you will learn everything you need to know about this error, including what it is, what causes it, and what steps you can take to fix it.
What Causes “the uploaded file exceeds the upload_max_filesize directive in php.ini” Error Message?
Your website is based on specific server resources parameters, which must be preserved for your website’s smooth operation. To ensure proper preservation of the resources, the hosting server sets a limit on the maximum size of a file you can upload to the website. This maximum file size is defined in the “upload_max_filesize” directive.
The “upload_max_filesize” directive is located in the php.ini file, which is the default server configuration for the applications that require PHP.

So, when you try to upload a file that is larger than the preset directive, you get the issue of “the uploaded file exceeds the upload_max_filesize directive in php.ini.” The issue is referring to the two things mentioned above—upload_max_filesize and php.ini.
You should also note that this directive for the file size is not a WordPress setting that you can change after going into the dashboard. So how do you change it? Here’s how.
How Do I Change the Maximum Size of PHP INI in WordPress?
If you want to change the maximum size of php.ini in WordPress and avoid the “the uploaded file exceeds the upload_max_filesize directive in php.ini” issue, you need to increase the file size upload limit. For this, you have to increase the value of the “upload_max_filesize” directive in your php.ini file. There are several ways to change the maximum size of php.ini in WordPress, depending on your web host configuration and preferences. Here are some of the best ways of doing so.
1. Contact Hosting Server’s Support
Of all the ways of changing the maximum size of php.ini in WordPress, contact the hosting provider’s technical support is the simplest. All you have to do is contact your hosting server’s technical support and request them to increase the file size limit for you.
Since this is quite a common request, the support staff should know precisely what needs to be done to meet your expectations. Plus, this way does not take more than a couple of minutes of your time. Just explain to them your needs, and they will do the rest from their side!

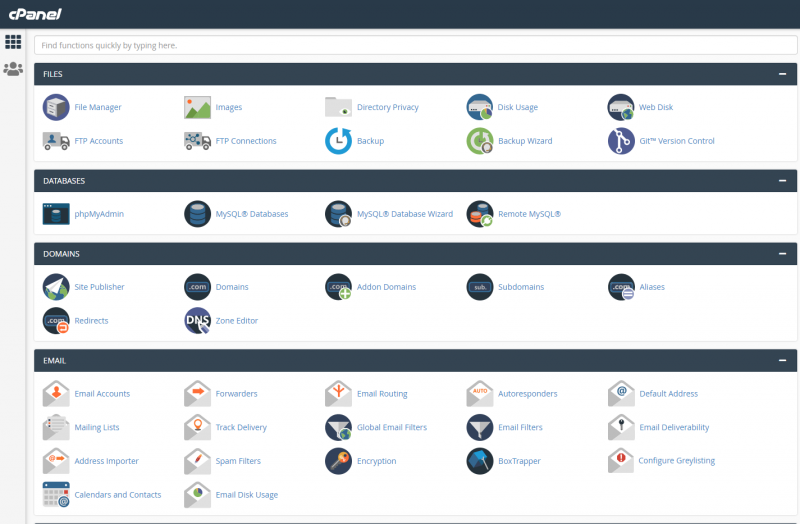
2. Edit php.ini via cPanel
Does your hosting provider use cPanel? If yes, you should also be able to edit your php.ini file and change the “upload_max_filesize” directive via the dashboard within the cPanel.
To do this step, first, you need to find the MultiPHP INI Editor within the cPanel dashboard and click on it. A drop-down menu will appear, wherein you have to choose your WordPress site. This will lead you to a new window. Your next step is to find the “upload_max_filesize” directive on the page and increase the value based on your needs.
That’s it. You can then shut down the cPanel dashboard and try reuploading the file to your website.
3. Create or edit php.ini via FTP
As mentioned above, the php.ini file of your web host controls how your server handles the PHP file applications. However, since hosts’ configurations are unique, your host may restrict you from using the php.ini files. If that is the case, you can use the .htaccess file, as covered in the next section.
However, if your hosting provider allows you to access the php.ini file, you can create or edit the file via FTP, and here’s how you can do that.
First, you need to connect to your server via FTP and then head to the site’s root folder. Next, you need to find the php.ini file. If you don’t spot it, you can create a new file and name it php.ini. Once you find or create the php.ini file, you then need to edit the file.
If you are editing a preexisting php.ini file, you need to find the directives in the file and modify the numbers to suit your preferences. And if you just created the php.ini file, you need to copy the following code snippet:
Upload_max_filesize = 12M
Post_max_size = 13M
Memory_limit = 15M
Some hosts also require you to add the suPHP directive so the changes made above to work properly. To do this, you can also edit the .htaccess file via PHP file and adding the following code snipped at the top of the file:
<IfModule mod_suphp.c>
suPHP_ConfigPath /home/yourusername/public_html
</IfModule>
4. Increase upload_max_filesize value by editing .htaccess File (cPanel)
If the above methods didn’t work for you or your host does not allow you to access the php.ini file, you can try to edit the “upload_max_filesize” directive by simply editing the .htaccess file. To do this, you need to first connect to your site via FTP, edit the .htaccess file, and add the following snippet to the file:
php_value upload_max_filesize 12M
php_value post_max_size 13M
php_value memory_limit 15M
If you get any internal server message, this method will not work for you. So, remove the snippet by editing the file and contact the host’s server support team.
5.Editing wp-config.php File
The last method to increase the file size limit is changing the limit via the wp-config.php file. For this method,
- First, access the “public_html” folder using the cPanel. Then, find the wp-config.php file, and edit the file.
- Once the edit window opens, find the comment line, “/* That’s all, stop editing! Happy blogging. */
- Just below that line, add the code snipped: @ini_set(‘upload_max_size’ , ‘256M’ );
- Save the file and try uploading the files again.
If none of these methods works for you, you can even try uploading the files via FTP as a workaround. FTP does not have any limits, and it will let you upload all kinds of files, even in bulk.
Want to know more about how you can improve your website and the best SEO practice?
You may also be interested in…
- What does SEO Stand for?
- When and Why Should You Clear WordPress Cache
- Long-Tail vs Short-Tail Keywords | What are They and How to Use Them To Improve Your SEO?
- Cause of WordPress 404 Page Not Found Error and What Can You Do About It
- 502 Bad Gateway Error: What Is It and How to Fix It
- How to Fix DNS_PROBE_FINISHED_NXDOMAIN Error Code on Chrome, Window and Mac
- How to Fix ‘ERR_SSL_VERSION_OR_CIPHER_MISMATCH’
- Conversion Rate Optimisation for Your Website